Fun With Photoshop
Monday, July 18, 2011
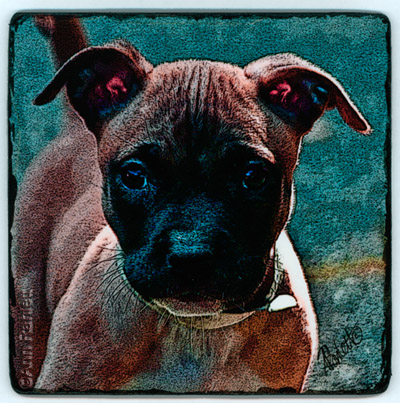
I've just completed the prototype for a series of dog photos I'm putting together for a show in April 2012. I know that's a ways off, but I was anxious to see if my plan would work, so I had to get at least one of these finished. I'm happy to report that it did work as planned, so I can proceed with this method. This also gives me plenty of time to get all the pieces done without the usual last-minute rush. Oh, I'm sure there will be a bit of a last-minute rush, but I hope it will be a little less crazy than usual!
I wanted to create pieces that aren't as time-intensive as my typical work. This serves a couple of purposes: 1) I can get more done in less time. 2) The finished pieces can be lower priced. This is important because I'm going to donate part of the proceeds from these works to two local animal rescue organizations (Chako Pit Bull Rescue and A New Hope Animal Foundation). I'm happy to help by donating to these terrific organizations, but sadly, I'm not independently wealthy, so I also need to generate income. Coming up with art that allows me to donate a percentage of the sale and also make a reasonable return on my time is key. I got the idea for this particular process after seeing Nathan Feldman's work at a recent group art show in Sacramento CA.
My art show will include 15 - 20 of these photos along with a few drawings and paintings that I'll create using a couple of the same photos as reference. This guy will also be a scratchboard drawing.
Below is a run-down of how I created this piece. I regularly use Photoshop and Photoshop Lightroom for color-correcting scans of my art, creating graphics and editing photos, but this is the first time I've really put Photoshop to the test to produce an item like this for sale. I could have just framed photos for the show, but I wanted to try something different.
I took the photo last year at A New Hope - they rescued a female pit bull and seven puppies. I have lots of photos of these adorable 10-week-old pups, so there will be a few of them in the art show. See more of the pups in my Flickr album.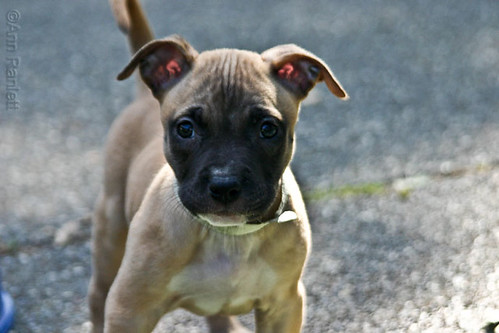
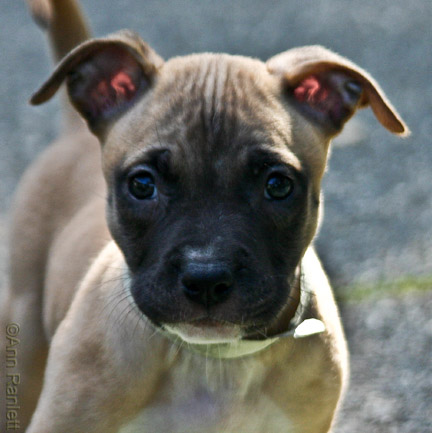
Photo cropped to a 6" x 6" square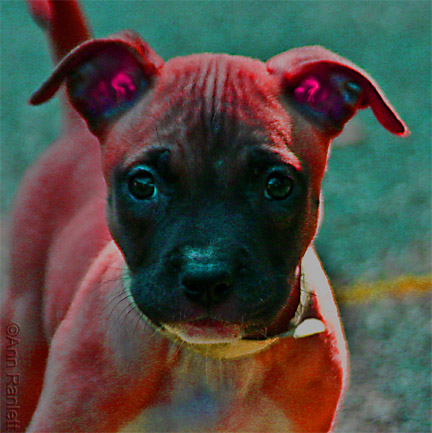
The photo after sharpening a bit and adjusting the hue & saturation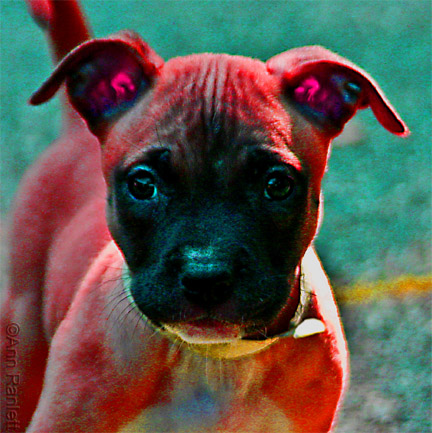
Levels adjusted to get more contrast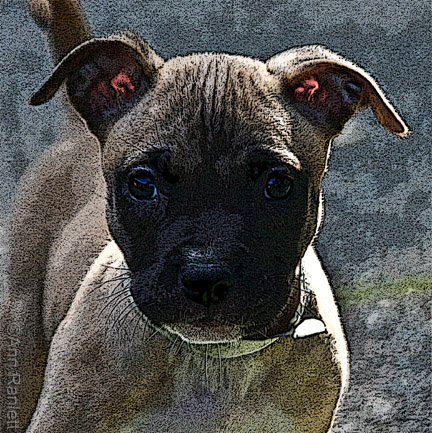
The first photo with posterized edges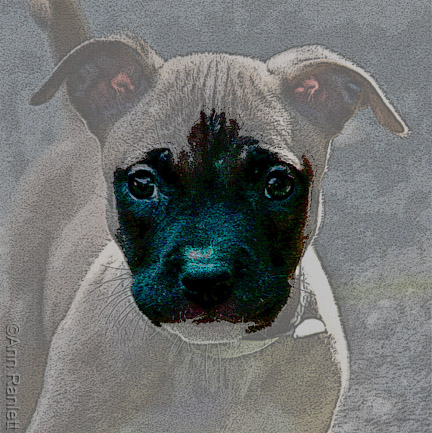
The posterized version was too dark in the face (which didn't show up until I printed it and it was pretty much a black blob), so I isolated the face of the "red version" and then posterized that
The layers of the face and the posterized version of the whole puppy are partially transparent and overlaid on top of the final "red version" to create the final image
I printed the final version on a glossy photo paper and mounted it to a 6" x 6" Ampersand Gessobord (an archival 1/8" thick panel).
Then I took my Dremel and rounded the corners of the board and hit the edges in some spots. I painted the edges and sides with India ink, putting some of it on the edges of the photo itself.
I sprayed that with Golden archival varnish and when it was dry, I brushed an acrylic gloss medium over the top, twice, letting it dry between coats and brushing in different directions. That left subtle brush marks which add a nice it of texture.
So there you have it! The show will be in Auburn, CA. If you'd like an invitation, please sign up for my e-newsletter. I'll include details in a future issue as the show date approaches.





1 comments:
I love it!
Post a Comment