From Cell Phone Photo to Finished Portrait
Monday, January 07, 2013
In this post, I'll show how a portrait with a challenging photo reference goes from initial consultation to finished product.
My client found my work on the web and sent a cell phone photo of his two cats. He wanted a portrait of them as a Christmas gift for his wife. The photo quality wasn't optimal, but I really liked the composition. Since there was a risk of spoiling the surprise, it wasn't feasible for me to go to his house to take more photos, so I told him what his options were with the photos he could provide. He wanted a detailed portrait as opposed to something in a looser style. He had initially inquired about a mini portrait (ACEO, 3.5" x 2.5") vs. a full-sized one. Because both cats were to be in the portrait, a mini portrait wouldn't have worked, too much detail would be lost, and the proportions wouldn't fit. Due to the quality of the photo, there wasn't enough detail to go any larger than 6" x 7". He agreed to the 6" x 7".
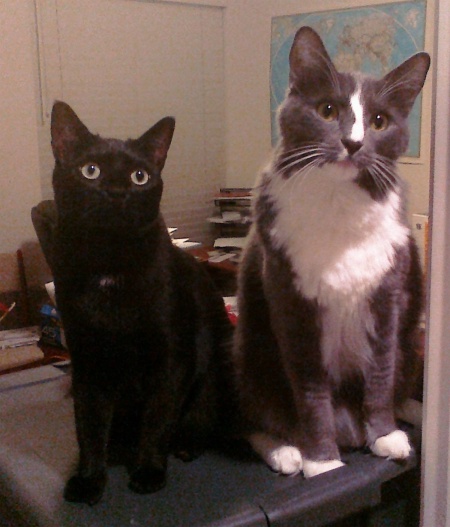
In the photo, the grey cat has decent detail, even though the photo is grainy and a little blurry. The black cat, however, is what worried me, it's pretty tough to see much detail in her, especially in her face. When I work on a portrait, I enlarge or reduce it to the size I'll be working so I can transfer the basic outlines and details to my working surface. You can see how it would have been difficult to enlarge this photo very much and maintain enough detail for a quality portrait.
I took the photo and lightened it substantially to try to pull out some detail in the black cat.
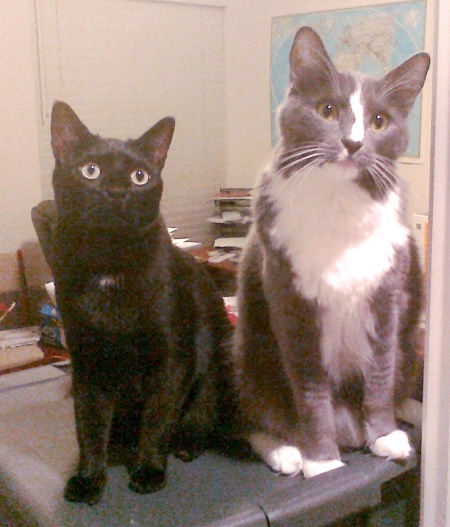
The lighter photo helped some, but I also found some good photos of black cat faces on the web and used another photo provided by my client.
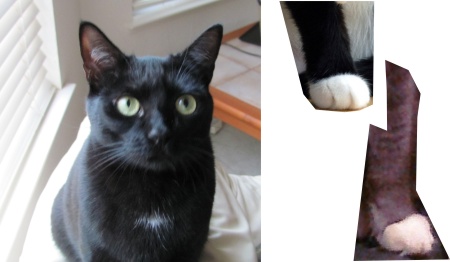
Next to the cat's face is a foot reference I found on the web, since I had to draw the rest of the grey cat's right foot. The other leg/foot is a piece I cropped out of the original photo so I could lengthen the grey cat's left leg to sit on the same plane as his right. You can see how that looks in the photo below:
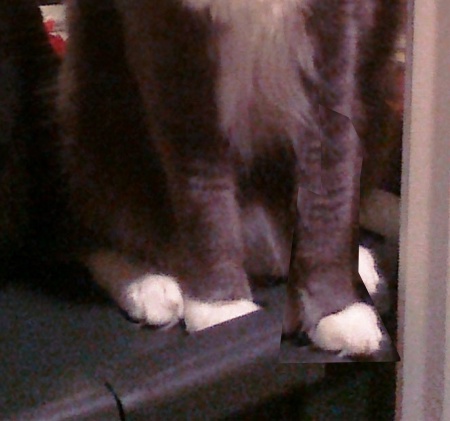
And here's the a version of the photo I converted to greyscale in order to have a better idea of the tones in the portrait.
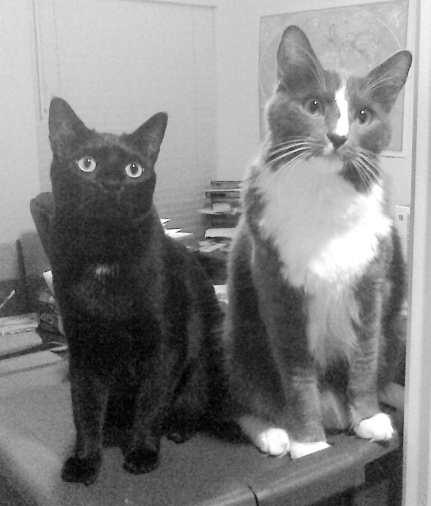
As you can see, it took some editing and research to have what I needed to complete this portrait properly. Here is the final result:
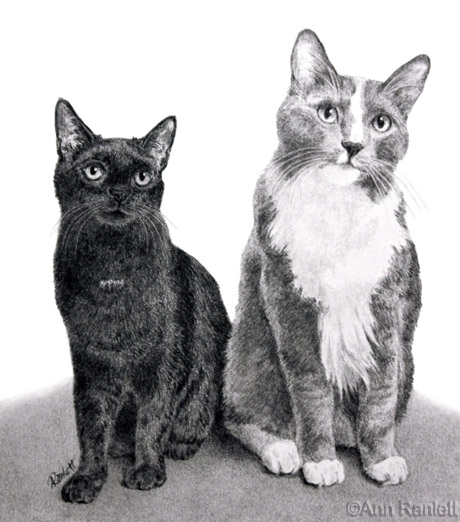
Despite some frustration, I'm happy with the portrait and my client was too. Even though I was able to pull this off, it's not something I want to tackle very often. It's certainly much easier with a good, detailed photo. Whenever possible, I take my own photos since I know what works best for a portrait and can get high quality photos with plenty of detail. Of course, that's not always possible, and over the years, I've learned to be firm in what I'm able to offer a client, based on the references they can provide. Since I offer a number of style and size options for portraits, I rarely have to tell a client "no", but it's not uncommon for me to limit their options. In the end, that results in both of us being happy.





1 comments:
I forgot to include in the post that this drawing was also a difficult one to scan. I have a good scanner, but in areas where there is a lot of light detail in white, it doesn't pick that up, even though I scan in the setting equivalent to "raw". I tried scanning with a couple of different settings and correcting in Photoshop & Photoshop Lightroom to no avail. I ended up taking a photo of it.
Post a Comment